


From knowledge springs power, just as weakness stems from ignorance. I, Thanos, shall reveal the clever ways of my Alternate Reality Clones. Getting vehicles further than intended in a level, campaign "power-strategies" and unlocking things referred to as "Easter Eggs" are the goal of this step. I believe in extermination-runs as opposed to speed-runs. You will not find ways of avoiding encounters here, only ways of dominating them.
Reading music:
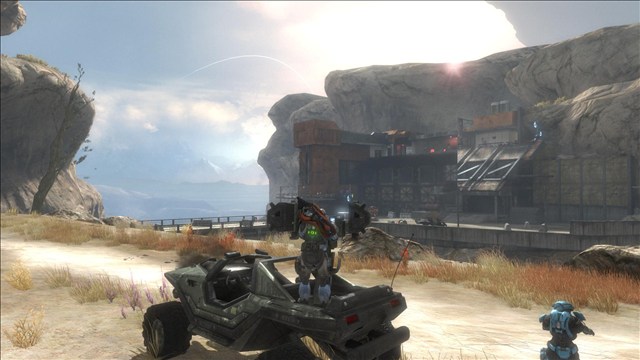
Getting an early Falcon on Winter Contingency
Getting a Ghost through Sword Base
Use another Ghost or Revenant as a ramp to get a Ghost over the concrete barriers:

Take it through and into the elevator. You may have to slightly damage it to shrink its wings:

Get back onto the Ghost as soon as the elevator starts to move:
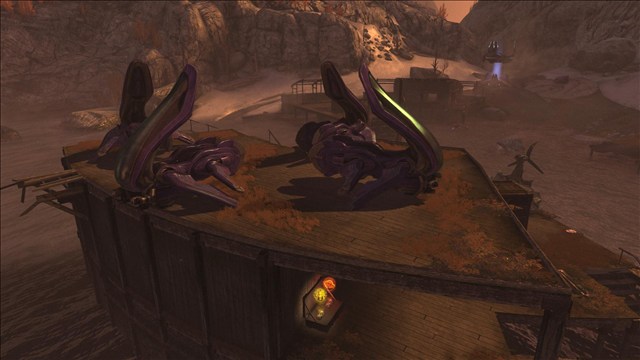
Covenant bowling:


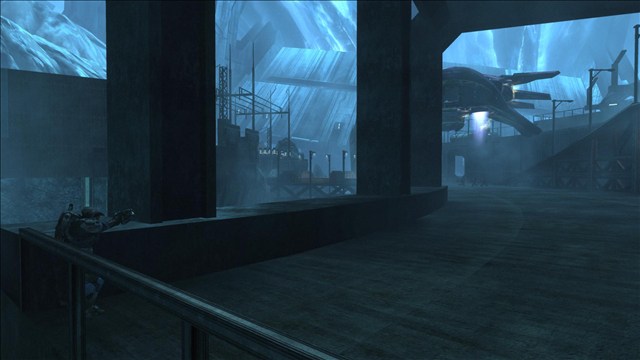
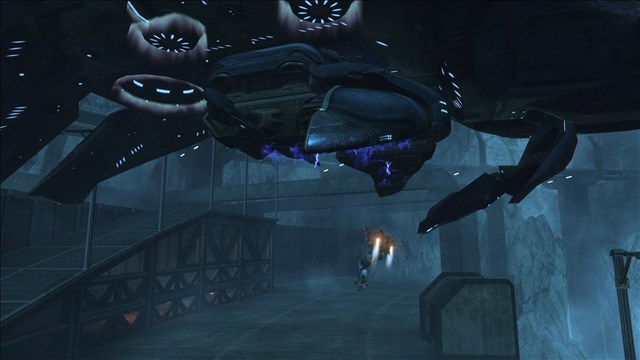
Flying a Seraph on Long Night of Solace
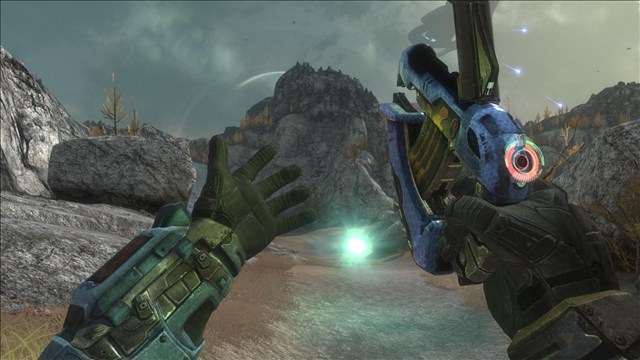
Gunning the Pelican on Long Night of Solace
Start by approaching the nose while crouched and holding reload:
As you approach the nose, you will be sucked in:
You won't be able to see, but you can still shoot and kill anything but Jorge:

Note: If you have teammates, get them to toss their explosives at the turret. You are invincible and the explosions will eventually destroy the turret's body but not function. You will be able to see once this occurs.
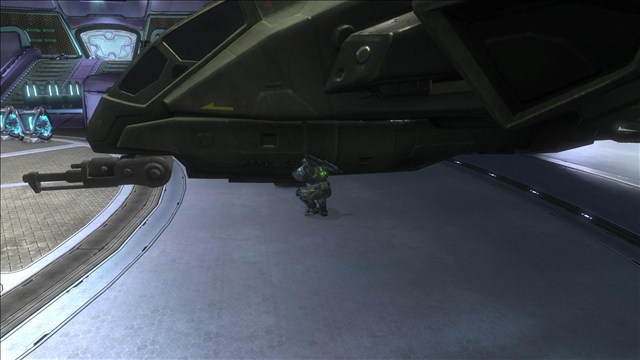
Keeping the Rocket 'Hog till the Falcon on Tip of the Spear
It may not be obvious at first but the vehicles are easily taken all the way till the Falcon pick up after the 2nd Covie AA-Cannon:
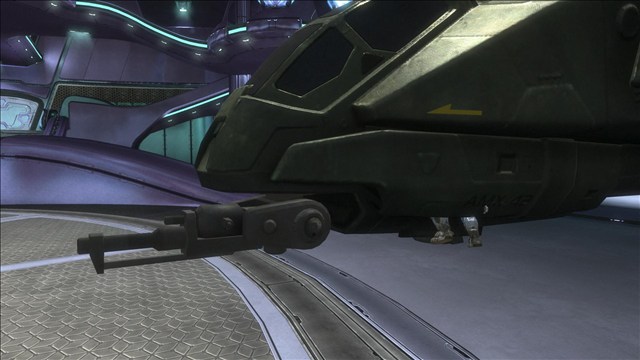
A 'Hog or Revenant will fit easily between these barriers:


A Revenant will do but a Rocket 'Hog is better:
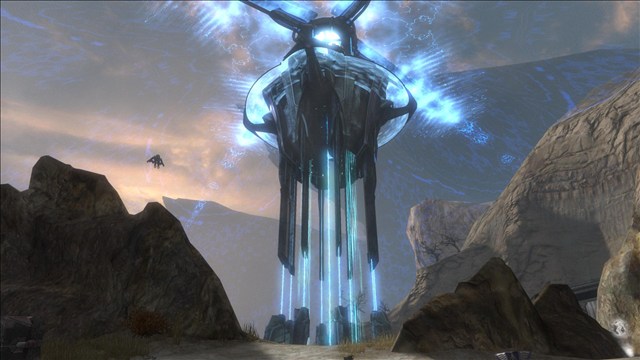
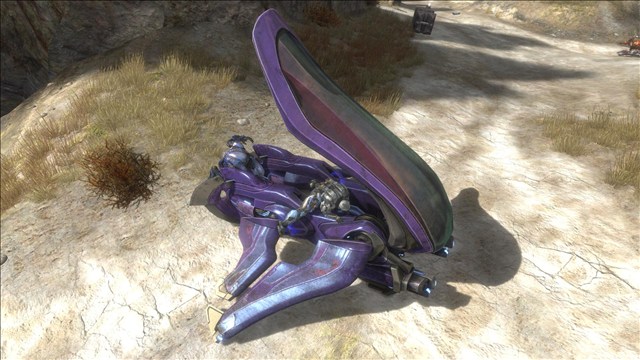
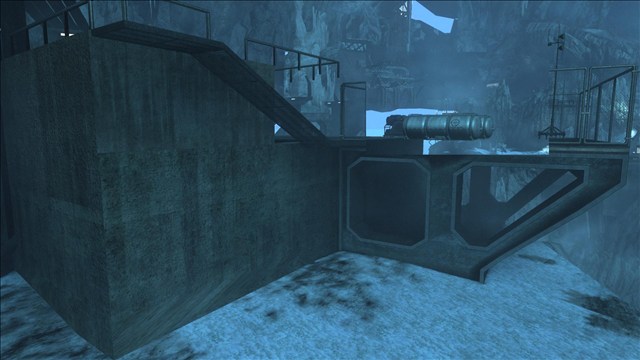
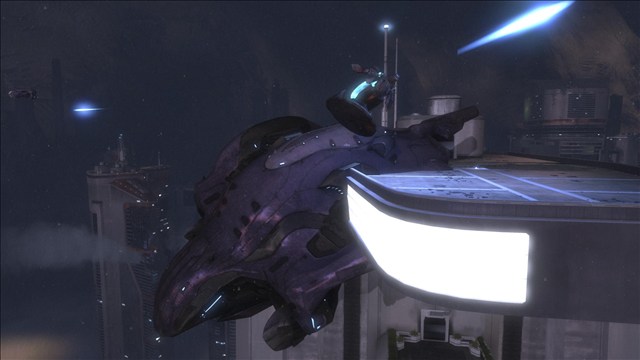
Grab a Banshee near the spire-base on Tip of the Spear
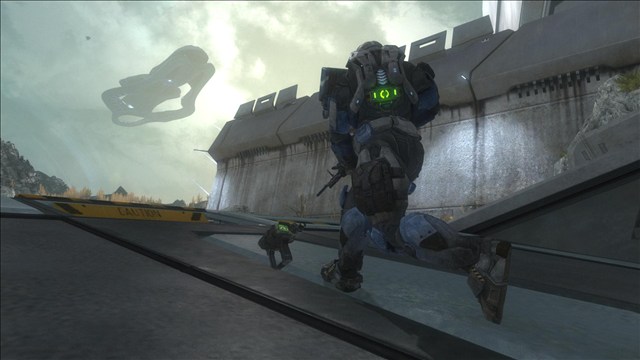
For clearing the area much more easily as well as for an achievement, grab a Banshee after making your way uphill after the Falcon crash:
Grabbing a jetpack may be helpful in skyjacking but Plasma-Pistols work just as well:


Send a few Banshee-bombs into the command deck of the spire before entering it:

Crazy Army trooper on New Alexandria
Once the elevator reaches its destination in the Sinoviet HM Tower:

Proceed left and up:
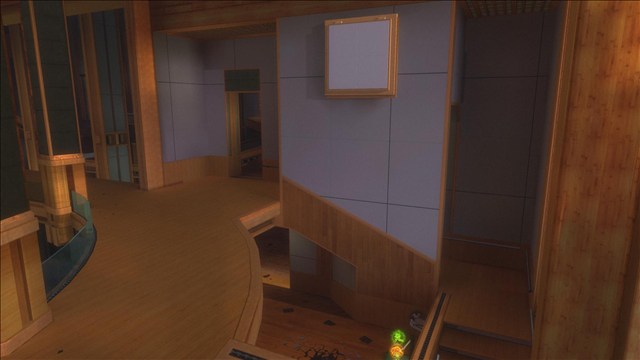
Straight across you can see a kneeling trooper:

Many crazy words he has to say:

Finish his cowardly ass off if you wish:

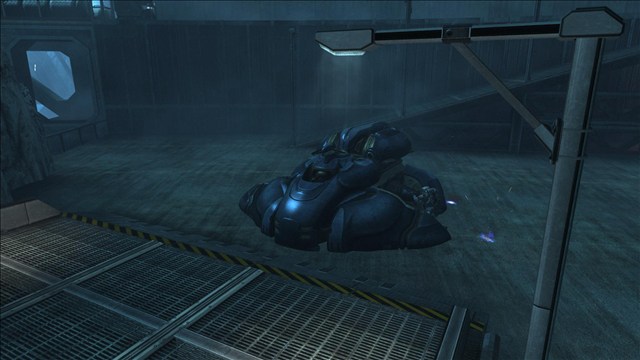
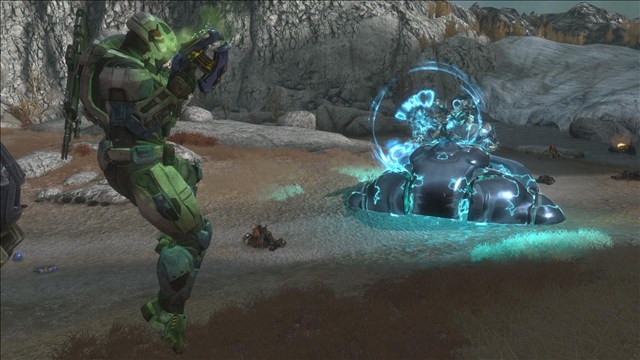
Having a rave instead of a Hunter-party on New Alexandria
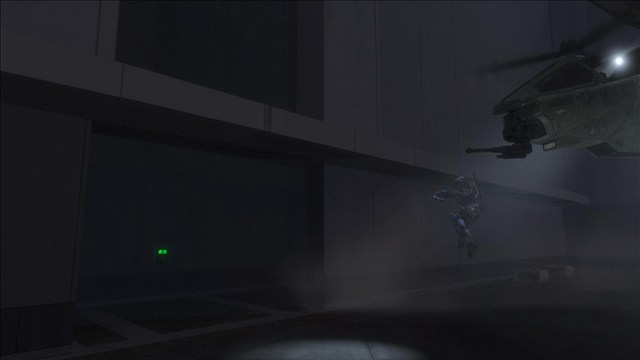
Grab a jetpack:

Grab a Mongoose and drive or trek and fly to this spot and wait for the enemies to disperse:
Jetpack up to the gunner and pilot and beat them to death:
You will phase through the Wraith. It isn't solid yet:


Once of the Covenant are killed off, an undamaged Wraith becomes your reward:
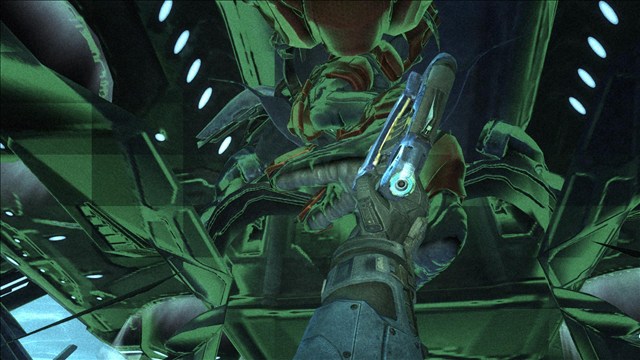
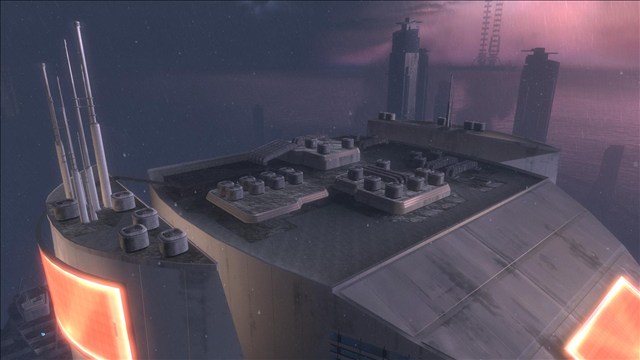
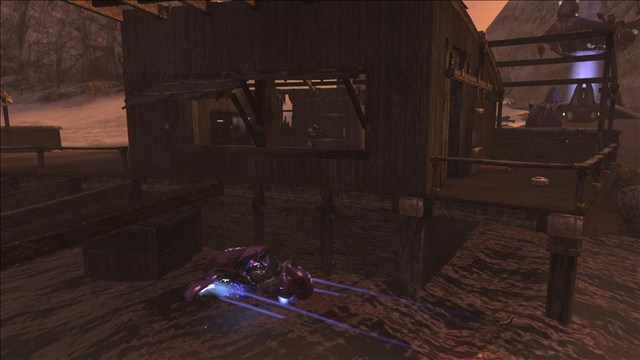
Getting into Dr. Halsey's Tribute Room on the Package, Legendary:
After Dr. Halsey's lab is available to be opened, do not. Instead of ending the level as intended, with a jetpack, head all the way back down to the first Wraith drop-off. A switch shown here will appear once "OBJECTIVE COMPLETE" is displayed. This happens once you've dispatched enough of the final wave of enemies:

Hop onto this spot on the fence. It isn't in a soft-kill zone yet:

Drop down and crouch as you land. Try to land right about here. Be quick, you're in dead-man's land:
Activate the switch and jetpack back up:

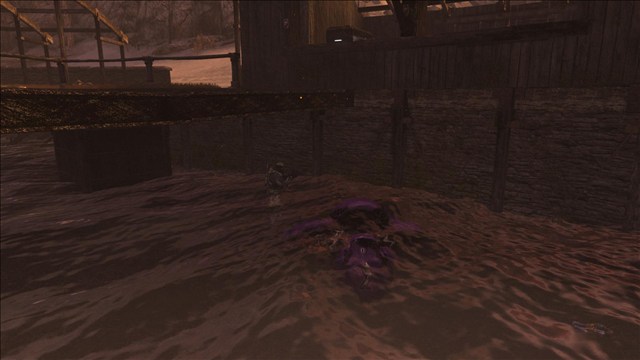
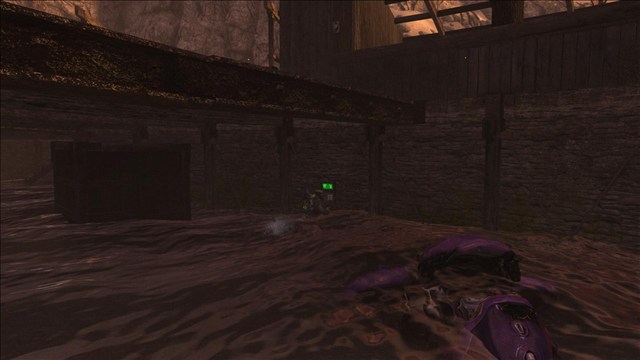
7 General Sangheili will exit a side door that is now open:
If you still have a Wraith or Ghost, they are easily vanquished:

Now you can enter the Tribute Room around the backside (do not enter the front):

Reading music:
Getting an early Falcon on Winter Contingency
Unfortunately, there are many invisible barriers that make using the Falcon almost impractical.
The easy part is using a Plasma-Pistol on a Falcon or getting the enemy to shoot it down with their over-charged shots. The hard part is that the Falcon must flip so that the pilot is ejected.
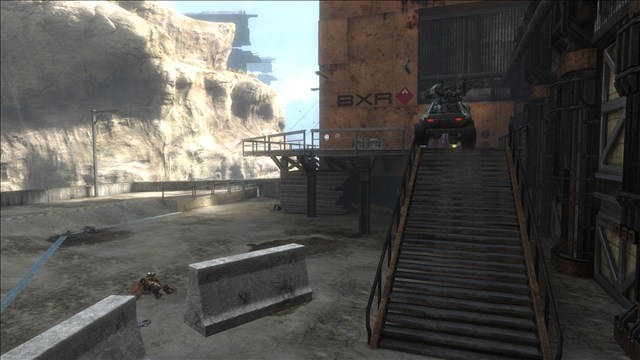
To get the Falcon to the final objective, you need to get the Covenant Spirit's vehicle lift to assist you past the barrier:
Taking it back on ONI: Sword BaseThe easy part is using a Plasma-Pistol on a Falcon or getting the enemy to shoot it down with their over-charged shots. The hard part is that the Falcon must flip so that the pilot is ejected.
To get the Falcon to the final objective, you need to get the Covenant Spirit's vehicle lift to assist you past the barrier:
Your first instinct, which is not incorrect by any means, may be to eliminate the Wraiths as quickly as possible, even by using the Target Locator.
Instead, juggle the Locator and Plasma Pistol outside:
Use the Locator on the Sangheili foot-soldier:

Then shoot the Wraith gunners, followed by the remaining footed infantry:

Use a Plasma Pistol to incapacitate a Wraith:
If you jump inside the turret-gunner rather than jack the Wraith, most times the driver will exit the vehicle. They easily die by their own turrets:
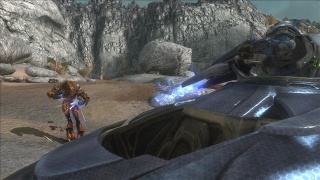

If you're smart on where you get in the 2nd Wraith, you can get Kat to take a Wraith too:

Reach Racing on Sword BaseInstead, juggle the Locator and Plasma Pistol outside:
Use the Locator on the Sangheili foot-soldier:
Then shoot the Wraith gunners, followed by the remaining footed infantry:
Use a Plasma Pistol to incapacitate a Wraith:
If you jump inside the turret-gunner rather than jack the Wraith, most times the driver will exit the vehicle. They easily die by their own turrets:
If you're smart on where you get in the 2nd Wraith, you can get Kat to take a Wraith too:
Requires at least 2 players.
Doing this before completing the 2 main objectives will cause a level-break.
Shown below are 2 switches that must be activated simultaneously:


Once done so, "Reach Racer" will flash on the screen and you will be transported to 2 Gauss 'Hogs ready to race around the level:

The looser is known to all:

Getting a Transport 'Hog on Sword BaseDoing this before completing the 2 main objectives will cause a level-break.
Shown below are 2 switches that must be activated simultaneously:
Once done so, "Reach Racer" will flash on the screen and you will be transported to 2 Gauss 'Hogs ready to race around the level:
The looser is known to all:
Though a highly damaged Transport 'Hog may seem like a worthless vehicle to have, well there is some benefit from driving this 'Hog that can die from splattering a fly.
Make sure you carry a Plasma Pistol past the gates after clearing the courtyard and pre-fire. Aim where the 'Hog will be with an overcharged shot:

Make sure you overcharge shoot the 'Hog repeditly so it doesn't drive off and get destroyed. Make sure you kick the driver out as soon as possible and see how far you can get:
See how many Troopers you can load with powerweapons.
Getting a Warthog into Sword BaseMake sure you carry a Plasma Pistol past the gates after clearing the courtyard and pre-fire. Aim where the 'Hog will be with an overcharged shot:
Make sure you overcharge shoot the 'Hog repeditly so it doesn't drive off and get destroyed. Make sure you kick the driver out as soon as possible and see how far you can get:
See how many Troopers you can load with powerweapons.
While it is possible to use another vehicle as a ramp to get a 'Hog over the concrete-barriers, here it is shown how one can get a 'Hog over the barriers without assistance.
Aim the front wheel to launch off of the excursion in the wall:
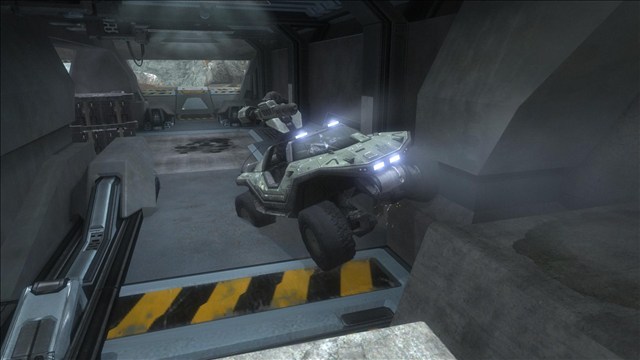
Keep the gas pinned. Most times you'll at least make it far enough that a splash from a grenade will get it to where the 'Hog is needed:

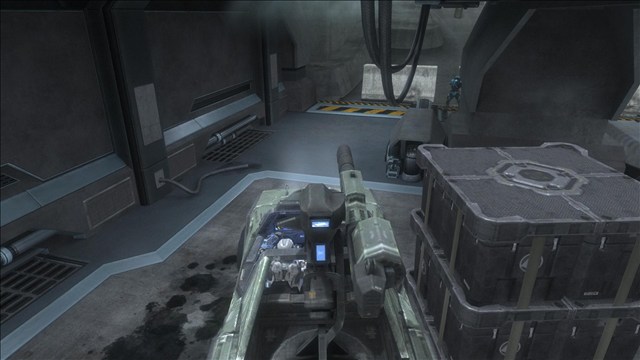
'Hogs and Revenants can only go as far as the elevator:

Aim the front wheel to launch off of the excursion in the wall:
Keep the gas pinned. Most times you'll at least make it far enough that a splash from a grenade will get it to where the 'Hog is needed:
'Hogs and Revenants can only go as far as the elevator:
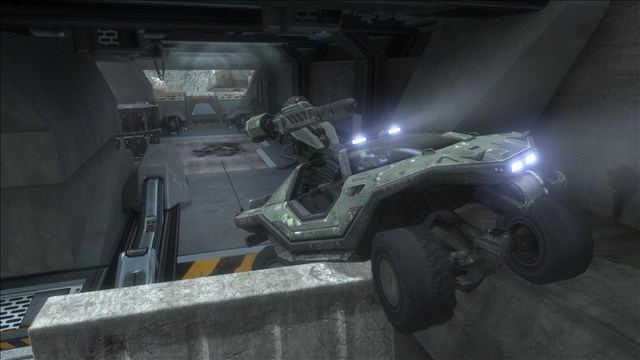
Getting a Ghost through Sword Base
Use another Ghost or Revenant as a ramp to get a Ghost over the concrete barriers:
Take it through and into the elevator. You may have to slightly damage it to shrink its wings:
Get back onto the Ghost as soon as the elevator starts to move:
Covenant bowling:
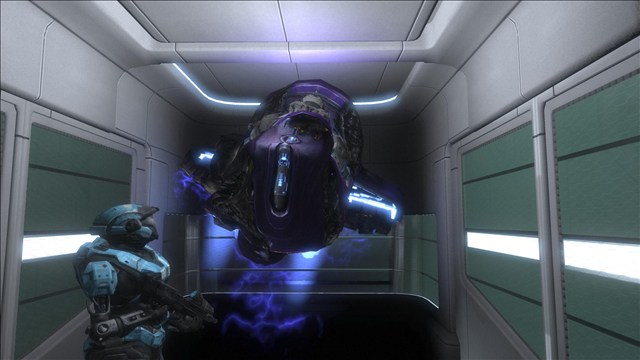
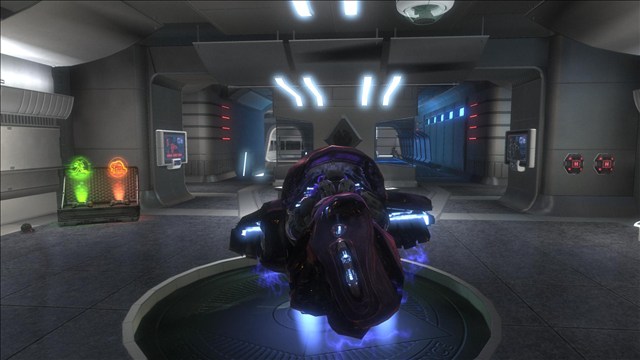
Gunning the Pelican on Long Night of Solace
Start by approaching the nose while crouched and holding reload:
As you approach the nose, you will be sucked in:
You won't be able to see, but you can still shoot and kill anything but Jorge:
Note: If you have teammates, get them to toss their explosives at the turret. You are invincible and the explosions will eventually destroy the turret's body but not function. You will be able to see once this occurs.
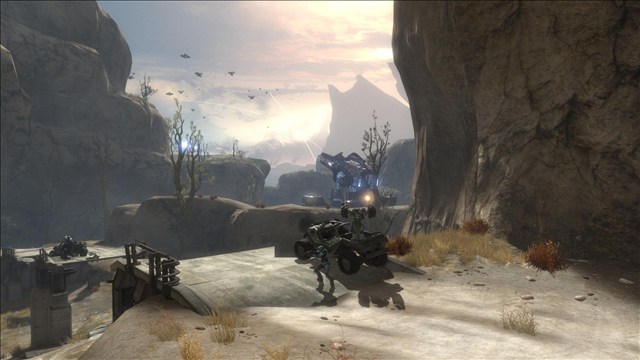
It may not be obvious at first but the vehicles are easily taken all the way till the Falcon pick up after the 2nd Covie AA-Cannon:
A 'Hog or Revenant will fit easily between these barriers:
A Revenant will do but a Rocket 'Hog is better:
For clearing the area much more easily as well as for an achievement, grab a Banshee after making your way uphill after the Falcon crash:
Grabbing a jetpack may be helpful in skyjacking but Plasma-Pistols work just as well:
Send a few Banshee-bombs into the command deck of the spire before entering it:
Once the elevator reaches its destination in the Sinoviet HM Tower:
Proceed left and up:
Straight across you can see a kneeling trooper:
Many crazy words he has to say:
Finish his cowardly ass off if you wish:
This prevents the encounter with 4 Hunters but are replaced by a room full of Grunts that are dancing, equipped with Fuel-Rod Cannons. Deactivating the jammer or killing an enemy causes the music the stop and the crowd to display their displeasure for it.
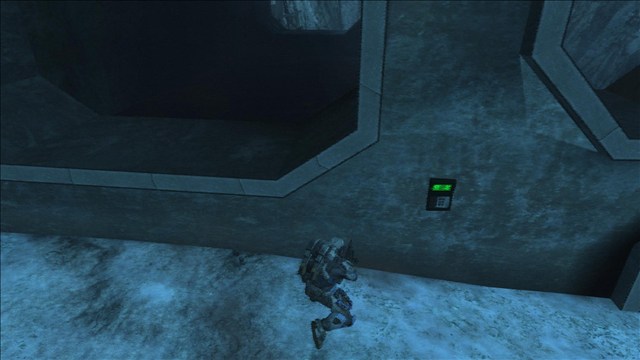
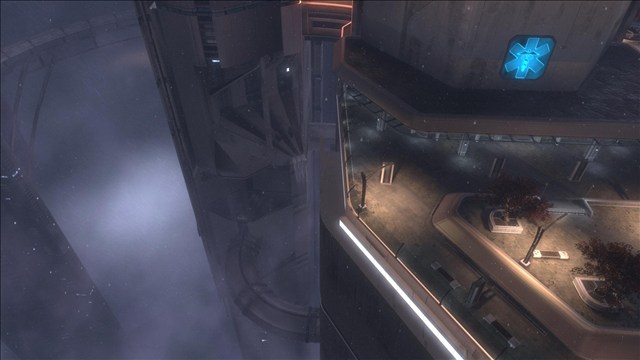
Once the Vyrant Telecom Tower objective becomes active (main door seen here):
A switch will appear over by the hospital. Travel towards the shown pipe:
Landing on the ledge the pipe connects to, the switch is easily seen:

Activate this switch to start the Never Surrender remix in the club:
Once the above switch is activated, another switch appears atop the Vyrant Telecom Tower:
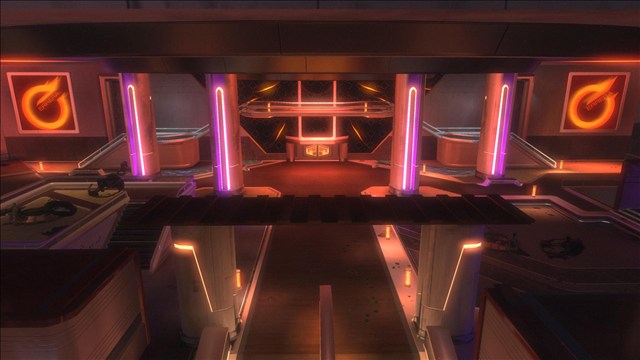
Located here, this switch changes the music in Club Errera to the Siege of Midrigal remix:

Inside the club, everyone will dance until they are dead or until the jammer is de-activated:
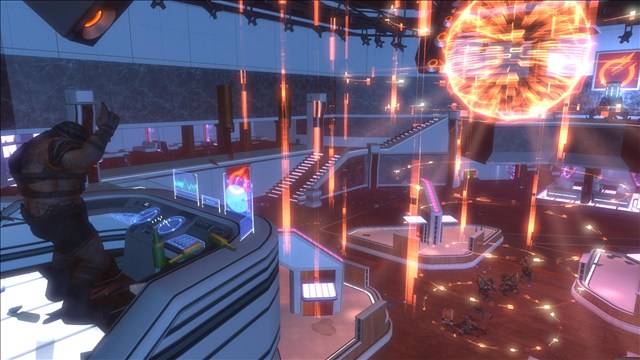
Note: If you kill an enemy, the music will stop and it's open season on the player(s). To prevent the FRG Grunts from being too much of a pain, at least on Legendary, enter the building, kill 1 Grunt and exit. Fly to the top of the building and activate the second switch. This causes the enemies to dance. They will talk as though they can see you but are too compelled by the music to fight.
Flying a Pelican or Phantom on New AlexandriaOnce the Vyrant Telecom Tower objective becomes active (main door seen here):
A switch will appear over by the hospital. Travel towards the shown pipe:
Landing on the ledge the pipe connects to, the switch is easily seen:
Activate this switch to start the Never Surrender remix in the club:
Once the above switch is activated, another switch appears atop the Vyrant Telecom Tower:
Located here, this switch changes the music in Club Errera to the Siege of Midrigal remix:
Inside the club, everyone will dance until they are dead or until the jammer is de-activated:
Note: If you kill an enemy, the music will stop and it's open season on the player(s). To prevent the FRG Grunts from being too much of a pain, at least on Legendary, enter the building, kill 1 Grunt and exit. Fly to the top of the building and activate the second switch. This causes the enemies to dance. They will talk as though they can see you but are too compelled by the music to fight.
You will need a jetpack found at the club or at another previous jammer-objective.
Do not get out of your new vehicle till you are above ground and within non-killing distance for the drop. Getting out causes the vehicle to disappear completely.
Once it's time to evacuate Kat (final objective), a switch appears on this building beside the Club Errera jammer:

Fly around to its backside and land the Falcon between the ledge and wall:

Landing the Falcon may take some practice but it can be balanced:

Activate the switch using the jetpack. Return to your Falcon:

Fly to and through this structure:

Your Falcon will fall to its destruction while you spawn inside an indestructible Pelican:

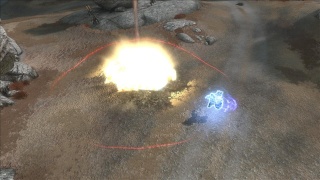
Use it to ram the Specters:

Jacking a Banshee yields separate results:

The Banshee falls to its destruction but you spawn in an indestructible Phantom:

It flies through most objects but it can be used to knock the Specters to their death:
Using the Phantom, the player can enter some buildings and dismount. Doing so can allow the player to get into Kat's death room or the room where the conversation previous to her death was held.
Co-op Banshee carnage on the PackageDo not get out of your new vehicle till you are above ground and within non-killing distance for the drop. Getting out causes the vehicle to disappear completely.
Once it's time to evacuate Kat (final objective), a switch appears on this building beside the Club Errera jammer:
Fly around to its backside and land the Falcon between the ledge and wall:
Landing the Falcon may take some practice but it can be balanced:
Activate the switch using the jetpack. Return to your Falcon:
Fly to and through this structure:
Your Falcon will fall to its destruction while you spawn inside an indestructible Pelican:
Use it to ram the Specters:
Jacking a Banshee yields separate results:
The Banshee falls to its destruction but you spawn in an indestructible Phantom:
It flies through most objects but it can be used to knock the Specters to their death:
Using the Phantom, the player can enter some buildings and dismount. Doing so can allow the player to get into Kat's death room or the room where the conversation previous to her death was held.
This must be done with at least 2 players.
If you did not destroy the AA-Cannons, they will have become indestructible and Sword Base will become inaccessible.
If you do not activate the 2nd switch in time, it will disappear.
Not taking the Scorpion to the base entrance will cause a level-break.
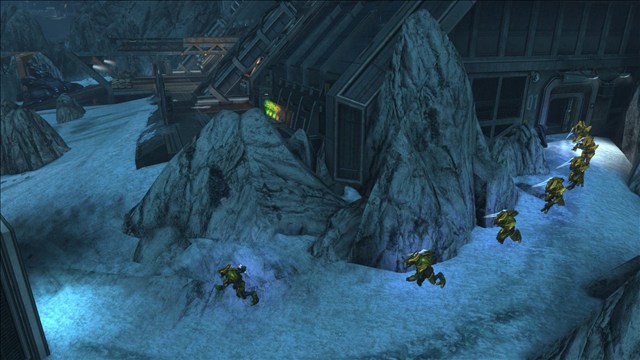
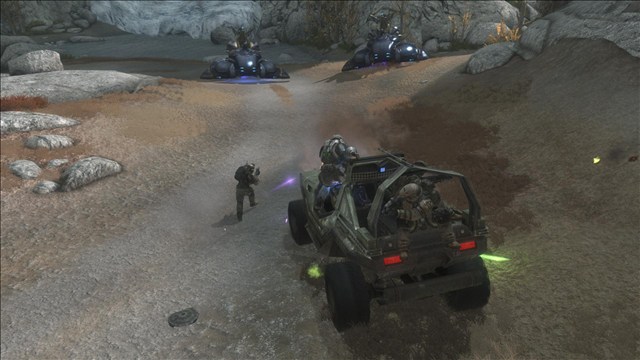
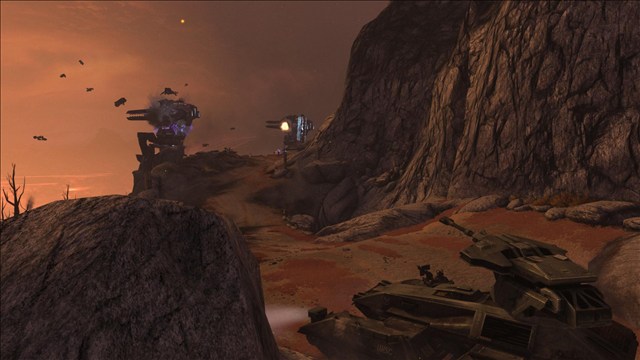
There are 2 parts to using the Banshees. First, you must destroy the 2 AA-Cannons midway to Sword Base. The Scorpion can accomplish that from this position:
Once the AA-Cannons are downed, return to original Grunt-encampment. Move this box out of the way and have 1 player stand where the box once did:
The other player will make their way to the water just past the 2nd Covenent anti-grav platform:

Just into dead-man's territory along the rocks is the first switch, activate and return to safe ground:
Have the other player activate the other switch that immediately appears:
4 Banshees will now spawn and are usable:
Defending Dr. Halsey's lab against the Covenant on the Package with easeIf you did not destroy the AA-Cannons, they will have become indestructible and Sword Base will become inaccessible.
If you do not activate the 2nd switch in time, it will disappear.
Not taking the Scorpion to the base entrance will cause a level-break.
There are 2 parts to using the Banshees. First, you must destroy the 2 AA-Cannons midway to Sword Base. The Scorpion can accomplish that from this position:
Once the AA-Cannons are downed, return to original Grunt-encampment. Move this box out of the way and have 1 player stand where the box once did:
The other player will make their way to the water just past the 2nd Covenent anti-grav platform:
Just into dead-man's territory along the rocks is the first switch, activate and return to safe ground:
Have the other player activate the other switch that immediately appears:
4 Banshees will now spawn and are usable:
Grab a jetpack:
Grab a Mongoose and drive or trek and fly to this spot and wait for the enemies to disperse:
Jetpack up to the gunner and pilot and beat them to death:
You will phase through the Wraith. It isn't solid yet:
Once of the Covenant are killed off, an undamaged Wraith becomes your reward:
After Dr. Halsey's lab is available to be opened, do not. Instead of ending the level as intended, with a jetpack, head all the way back down to the first Wraith drop-off. A switch shown here will appear once "OBJECTIVE COMPLETE" is displayed. This happens once you've dispatched enough of the final wave of enemies:
Hop onto this spot on the fence. It isn't in a soft-kill zone yet:
Drop down and crouch as you land. Try to land right about here. Be quick, you're in dead-man's land:
Activate the switch and jetpack back up:
7 General Sangheili will exit a side door that is now open:
If you still have a Wraith or Ghost, they are easily vanquished:
Now you can enter the Tribute Room around the backside (do not enter the front):
Last edited by Thanos of Halo on Sat Nov 12, 2011 8:26 pm; edited 53 times in total


